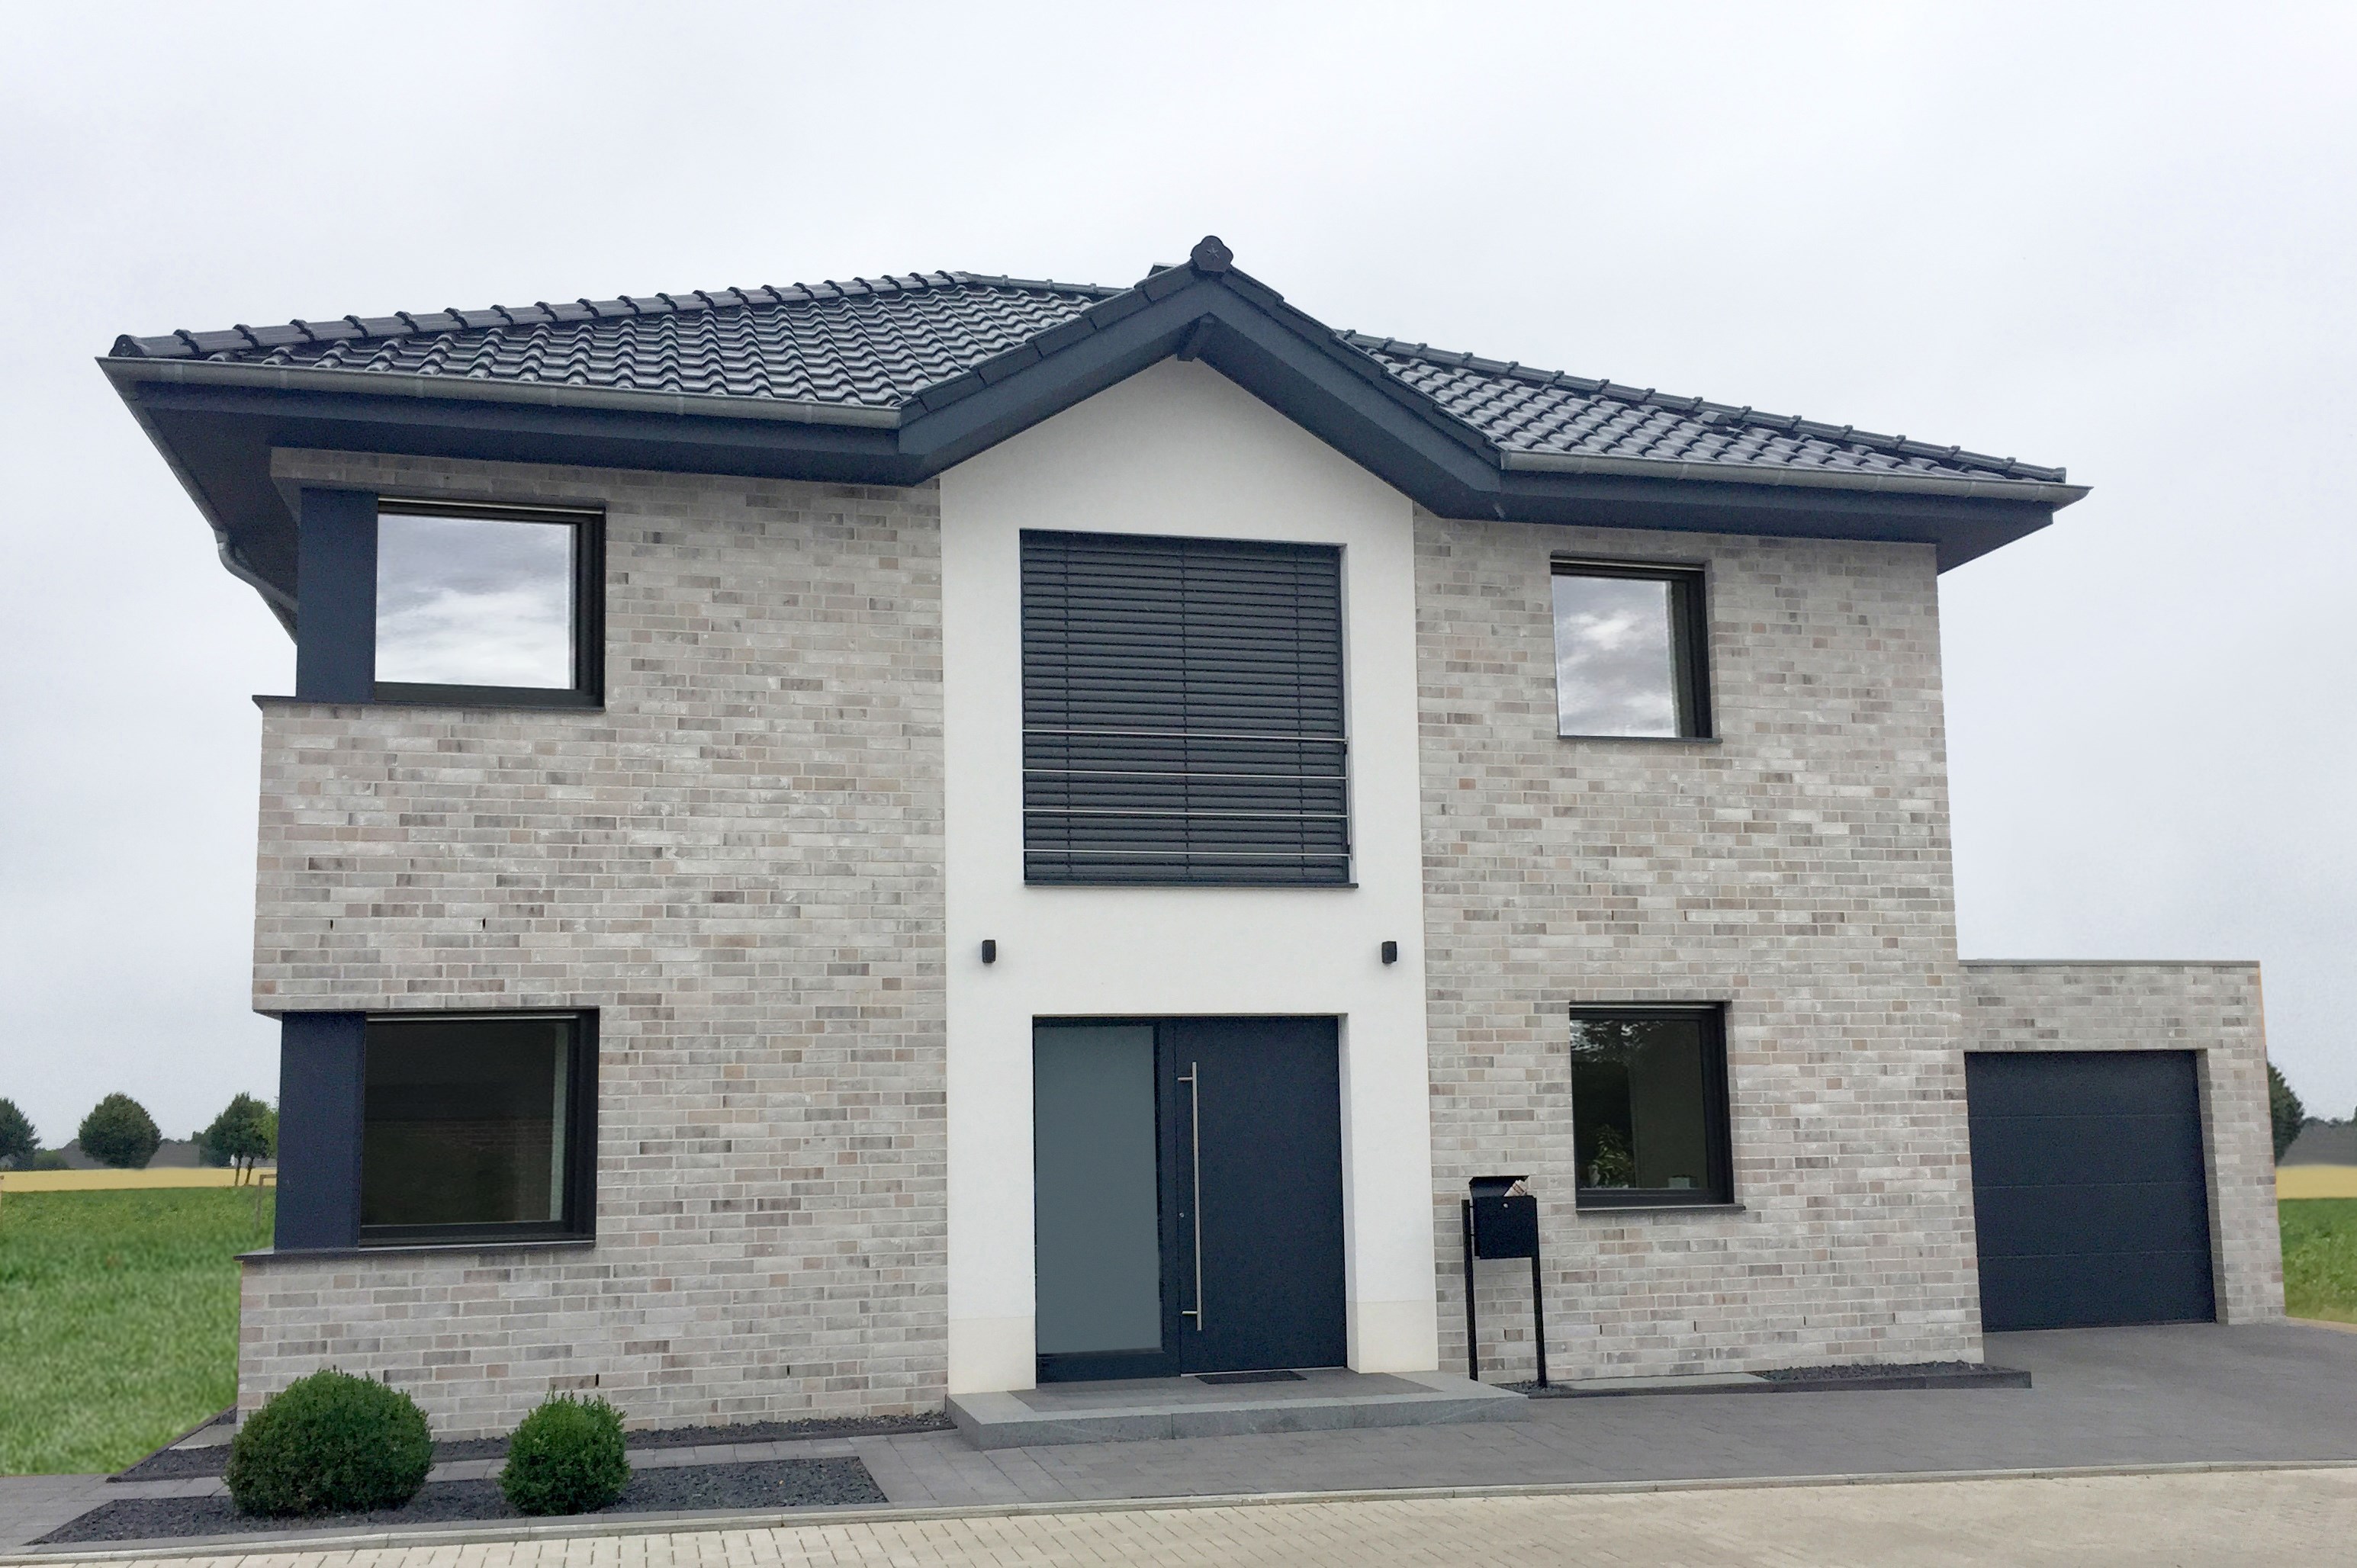
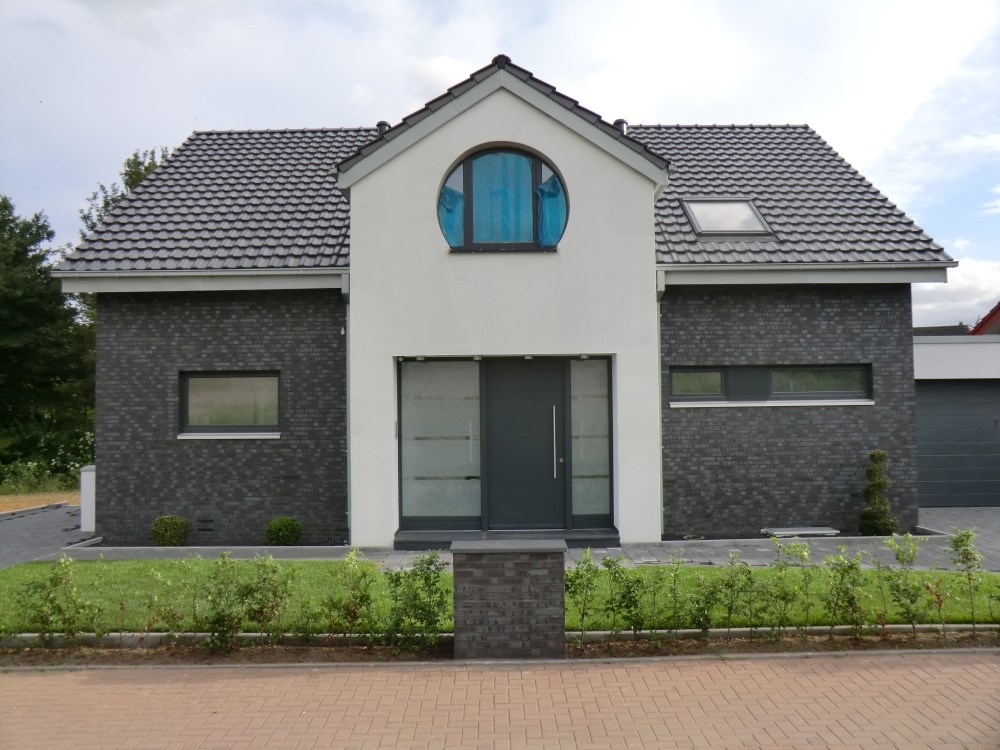
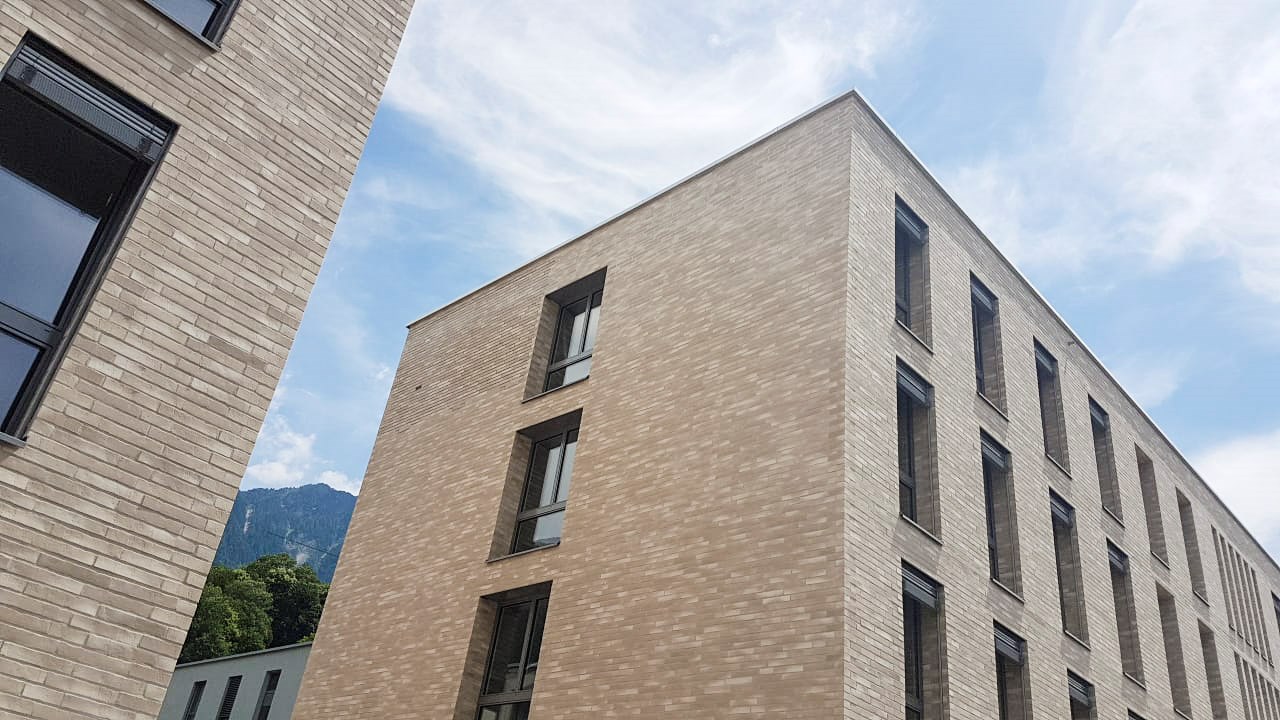
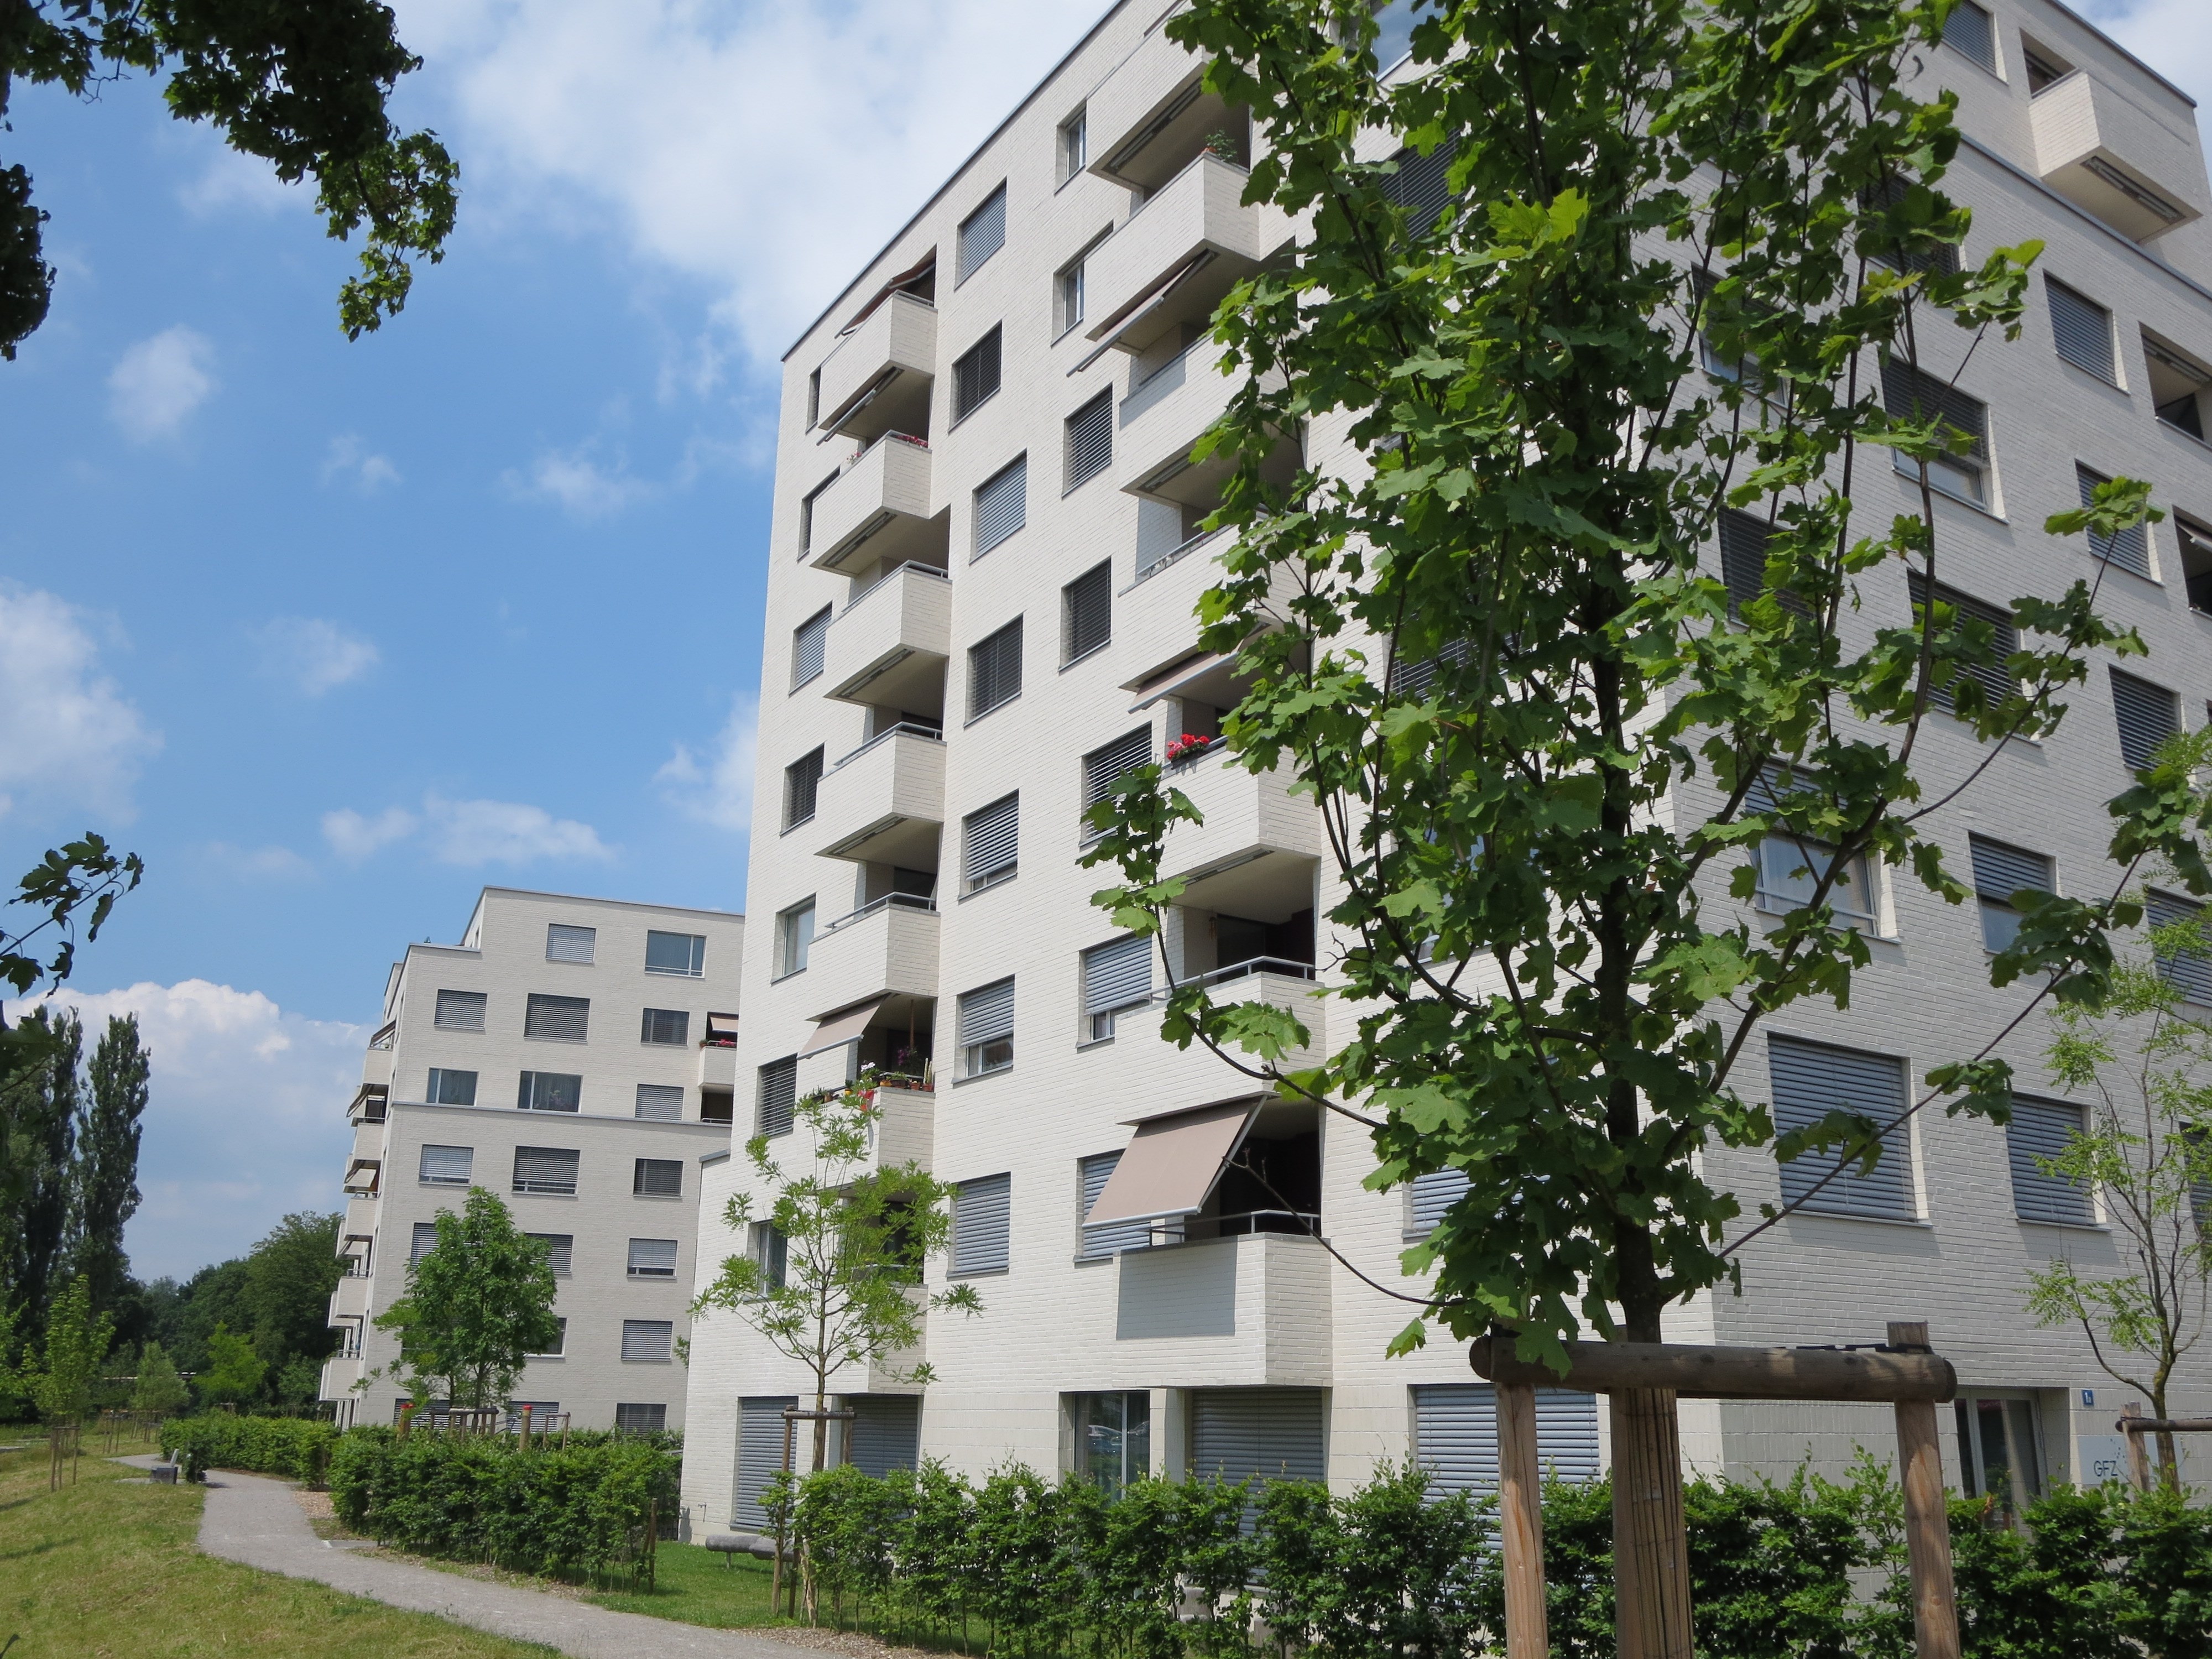
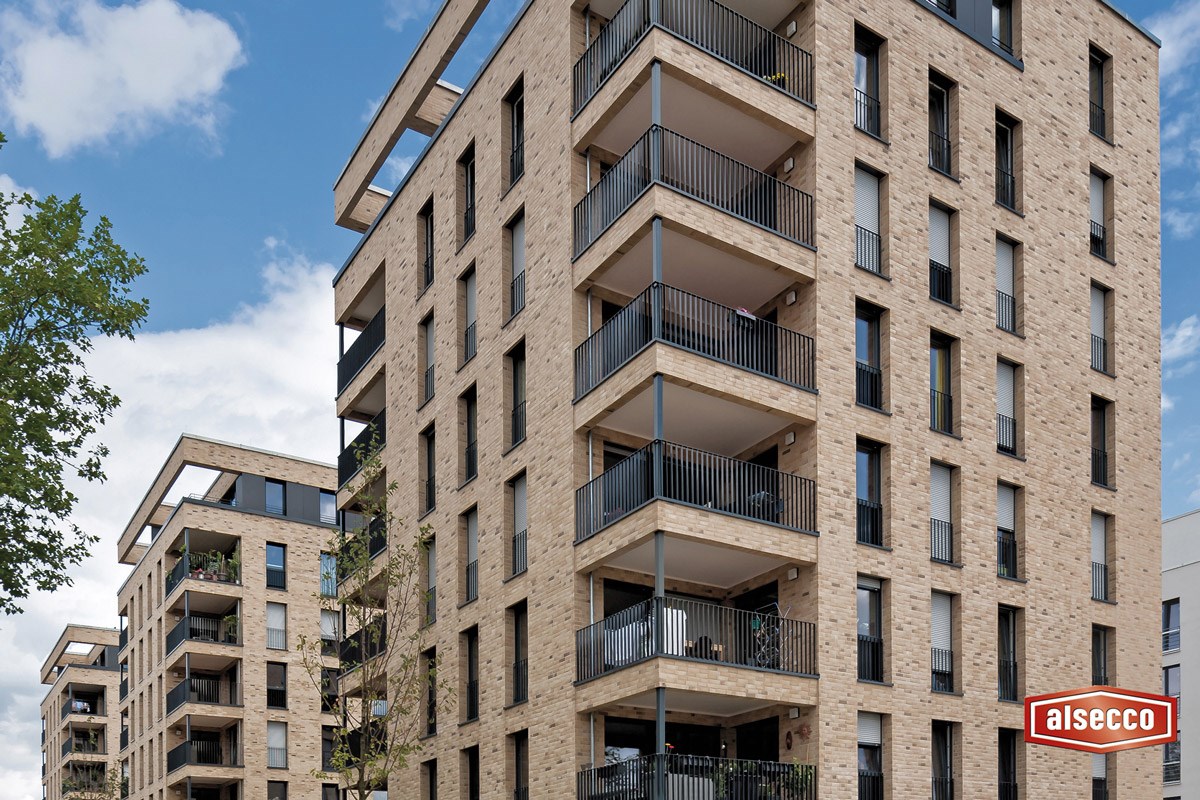
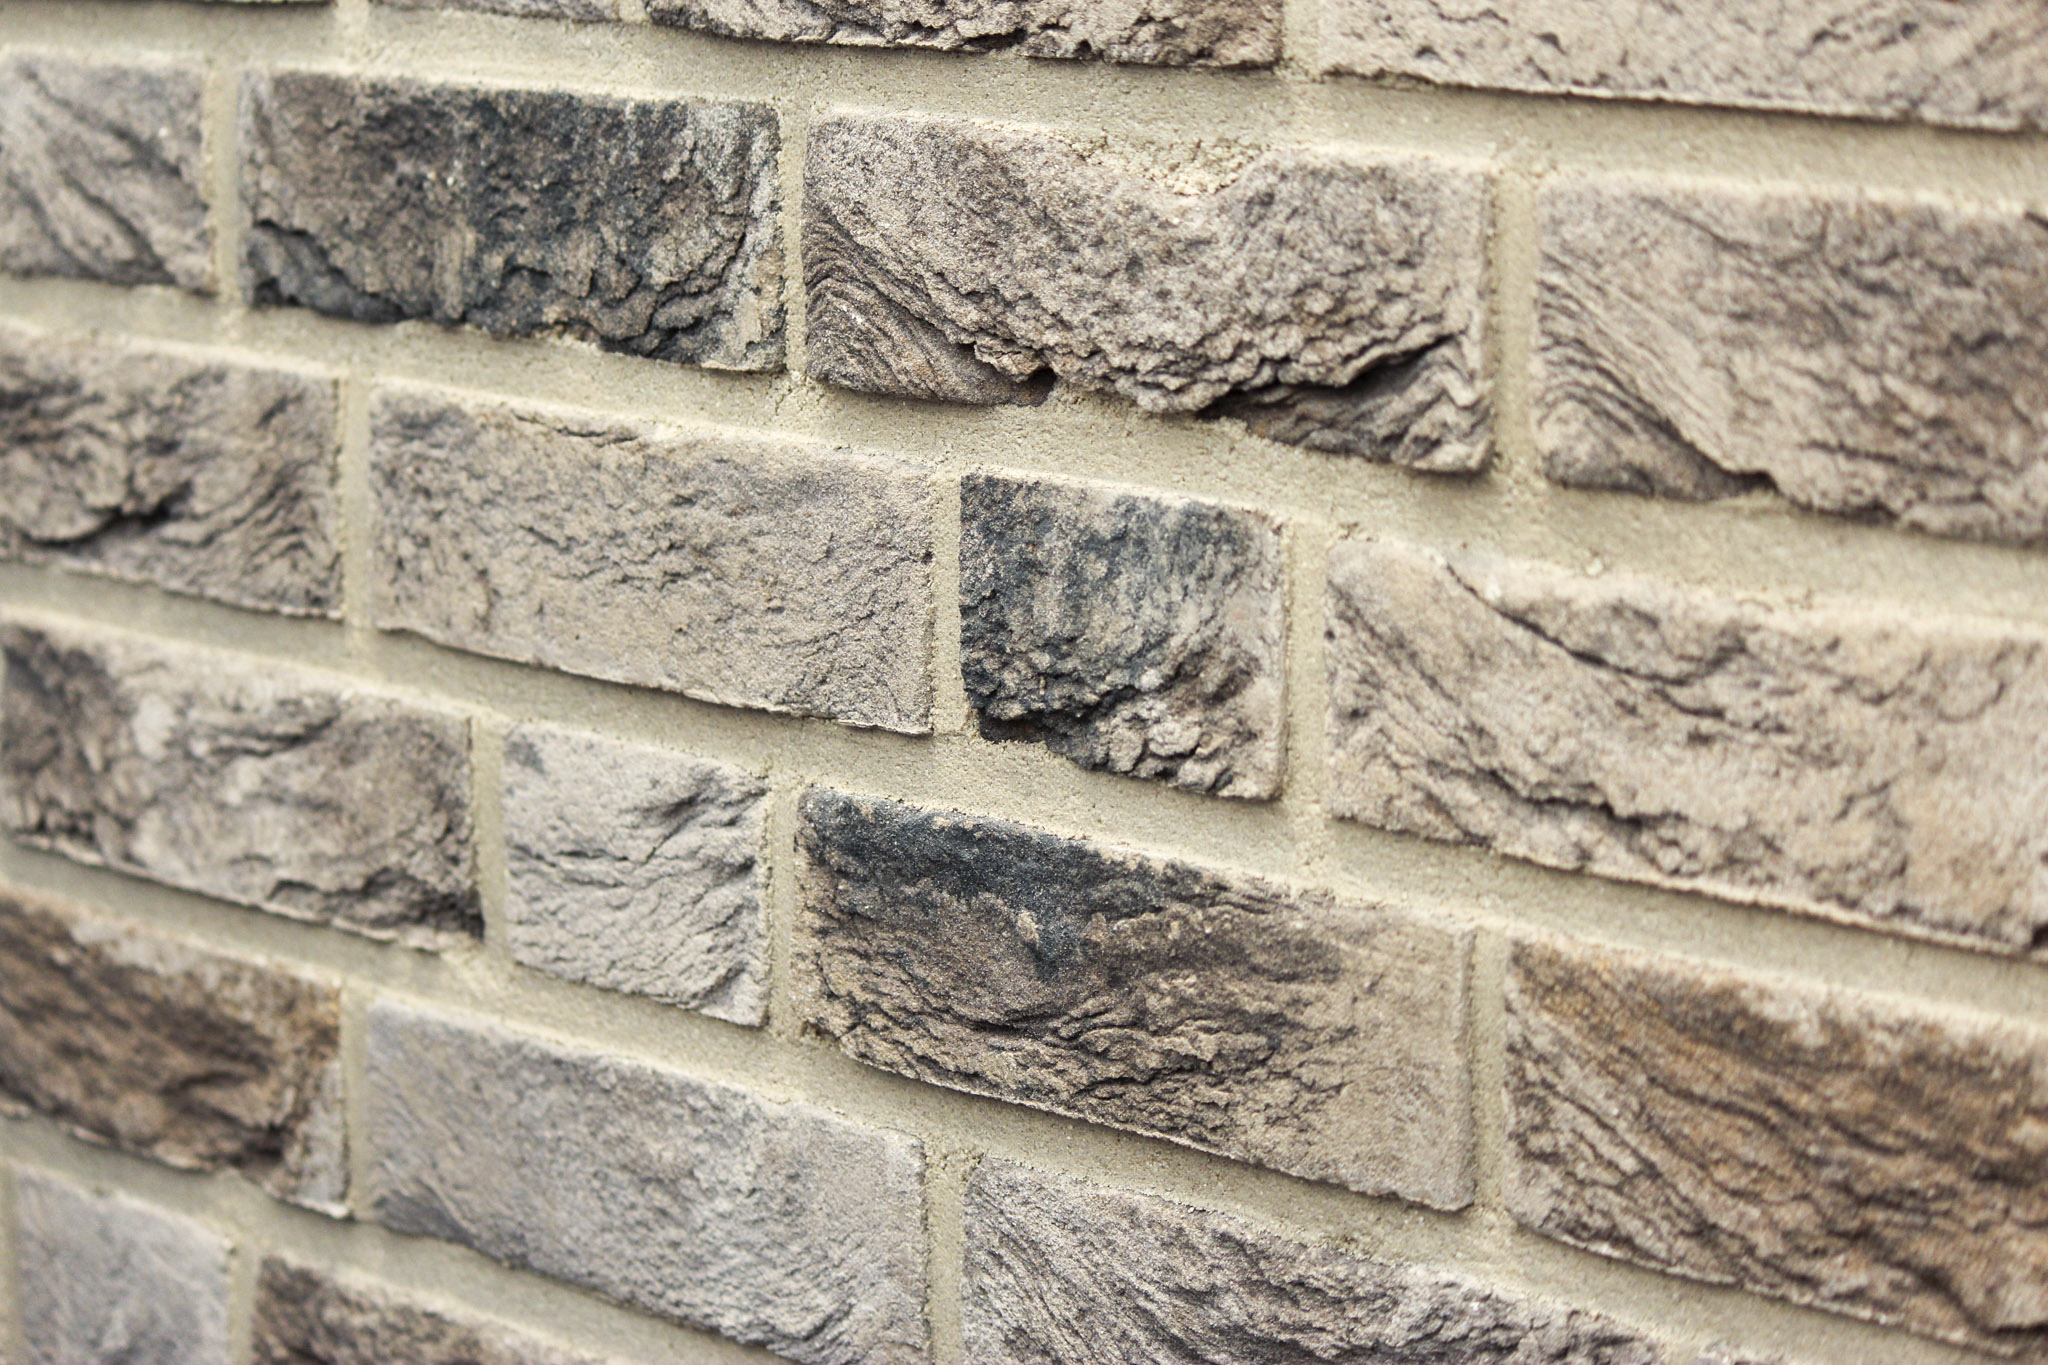
Clinker has been around since 1871 - the first thermal insulation composite system (ETICS) was used in 1957. The combination of both building materials results in a unique system of innovative thermal insulation and classic-modern façade surface. Dämmklinker has been processed for over 16 years on more than 2 million square meters. The tried-and-tested system of precisely matched components captivates with its uncomplicated assembly and the exclusive appearance of the genuine clinker straps. Unlike plaster facades, this system is maintenance-free.
Dämmklinker system design
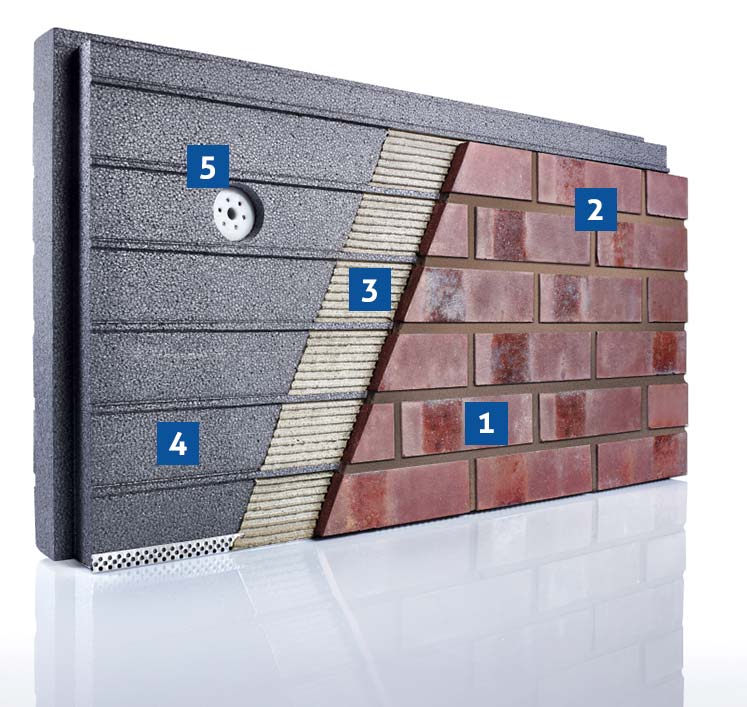
Thin bricks
When designing you have almost limitless possibilities. You can choose from a variety of clinker straps in a variety of colors and structures.DK-Grouts
A hydraulic hardening special joint compound is available for disposal.DK-glue mortar
For bonding the grid insulation boards and the straps, in-house adhesive mortar is used.Insulation Board
The basis for attaching the clinker strips is the grid insulation board with joint control system.Screw-in dowels / knock-in dowels
The grid insulation panels are fitted with special universal screw plugs for concrete, solid and perforated building materials and aerated concrete with galvanized steel screws.Socket rail
The base rail will be with 3-4 V2-A impact anchors á / lfm. attached. The system-related skirting profiles are to be mounted horizontally and flush as an end profile to adjacent components.Underground / muralist
6 steps laying instructions
Step 1
Applying the adhesive mortar
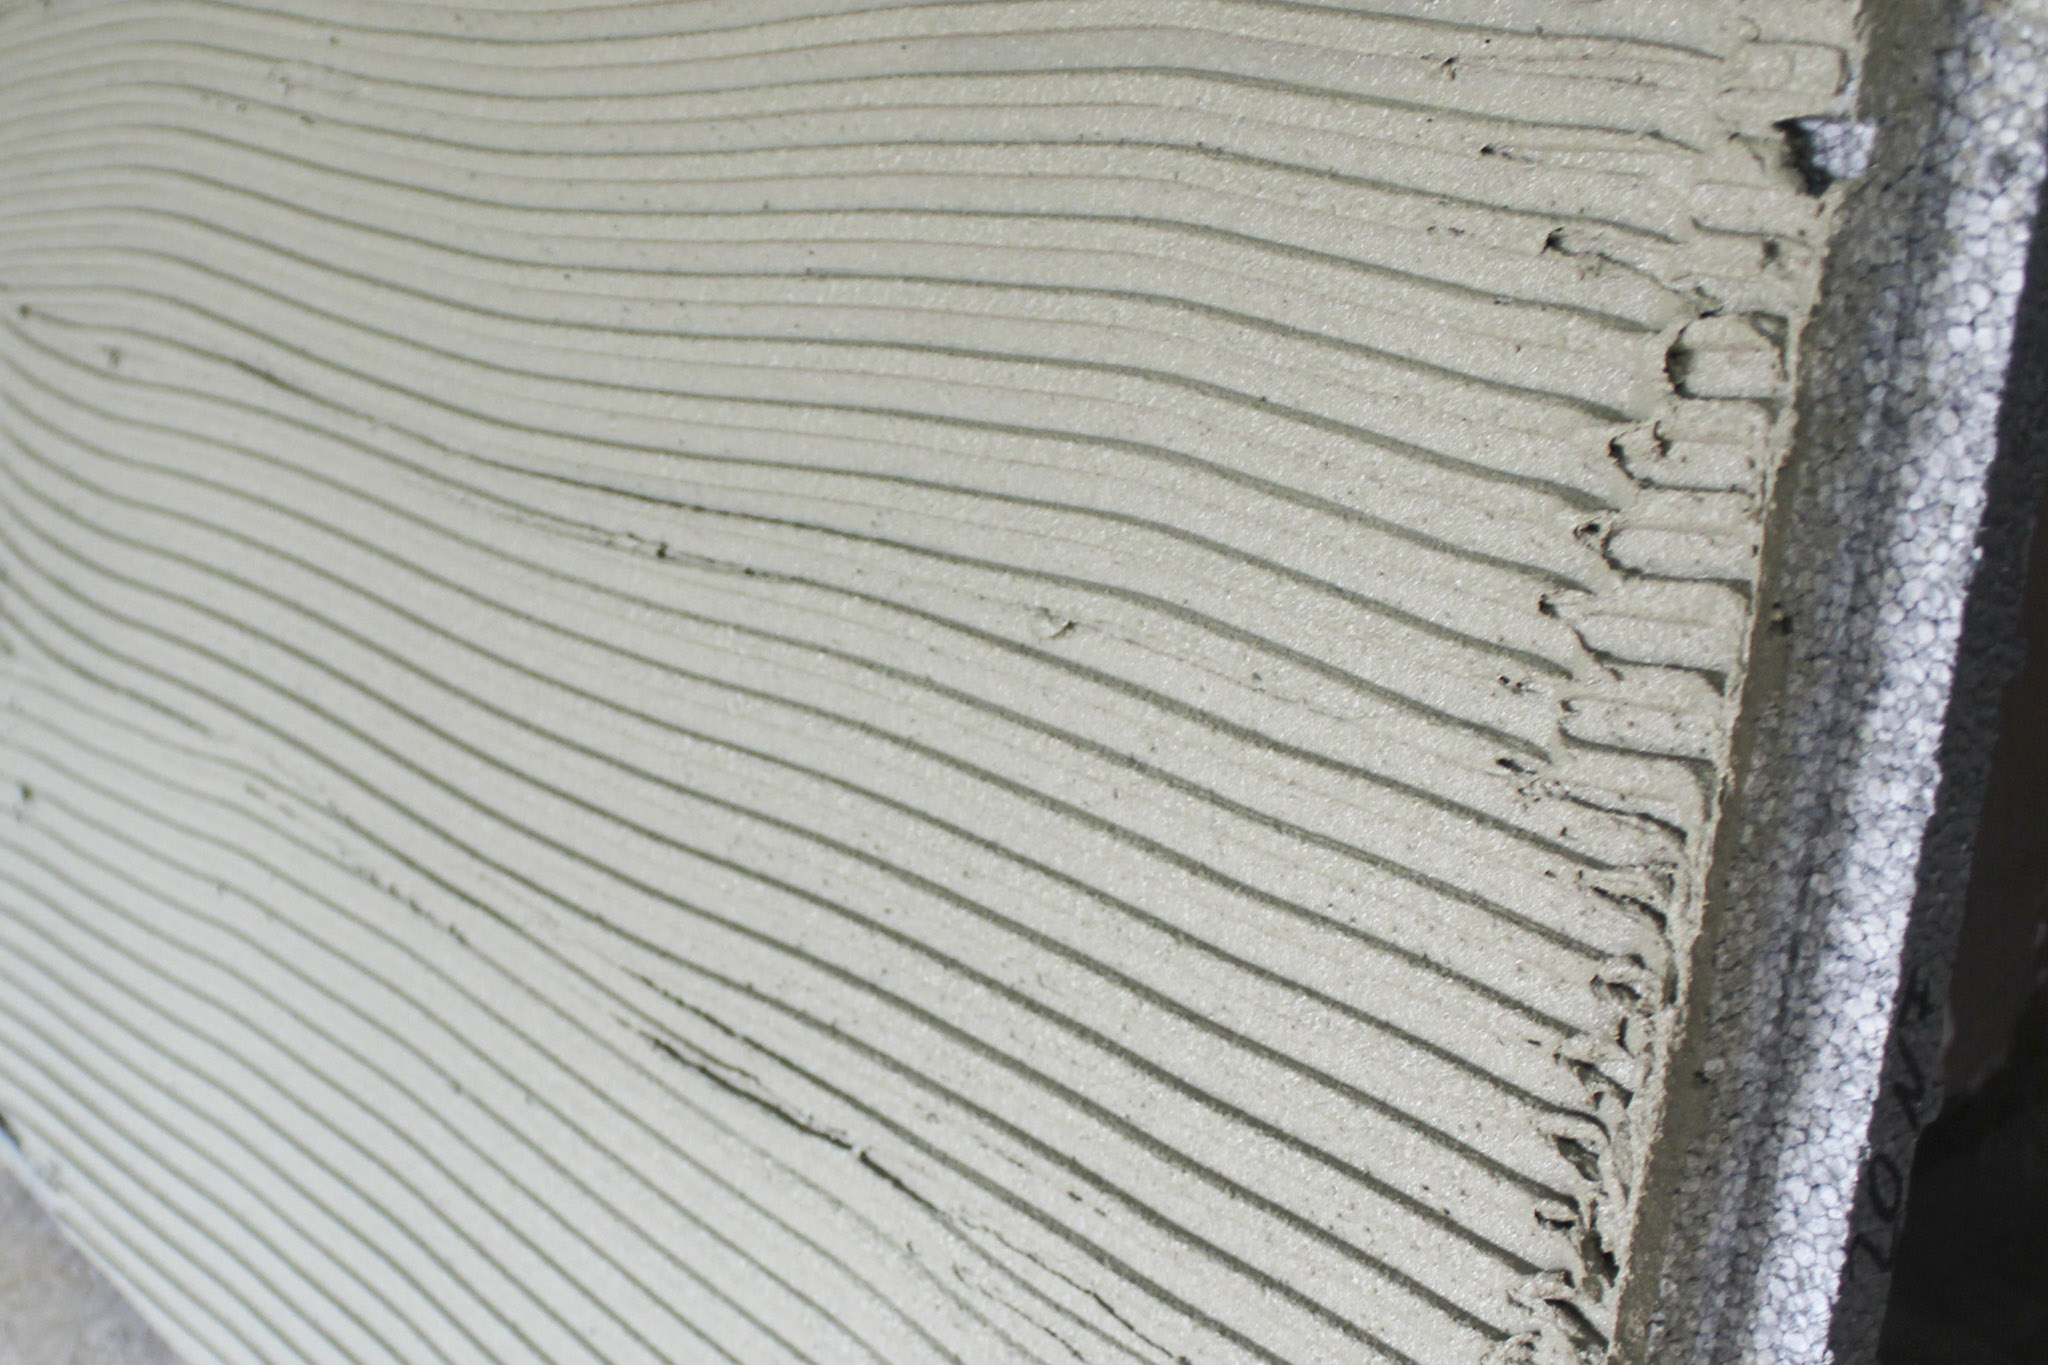
Mix the DK adhesive mortar according to the processing guidelines (see rear side of the container). Then the glue in Bead-point method or in the comb-bed method (see illustration) on the underside of the insulation board muster. Press the thus coated plate firmly against the wall.
Step 2
Drill holes
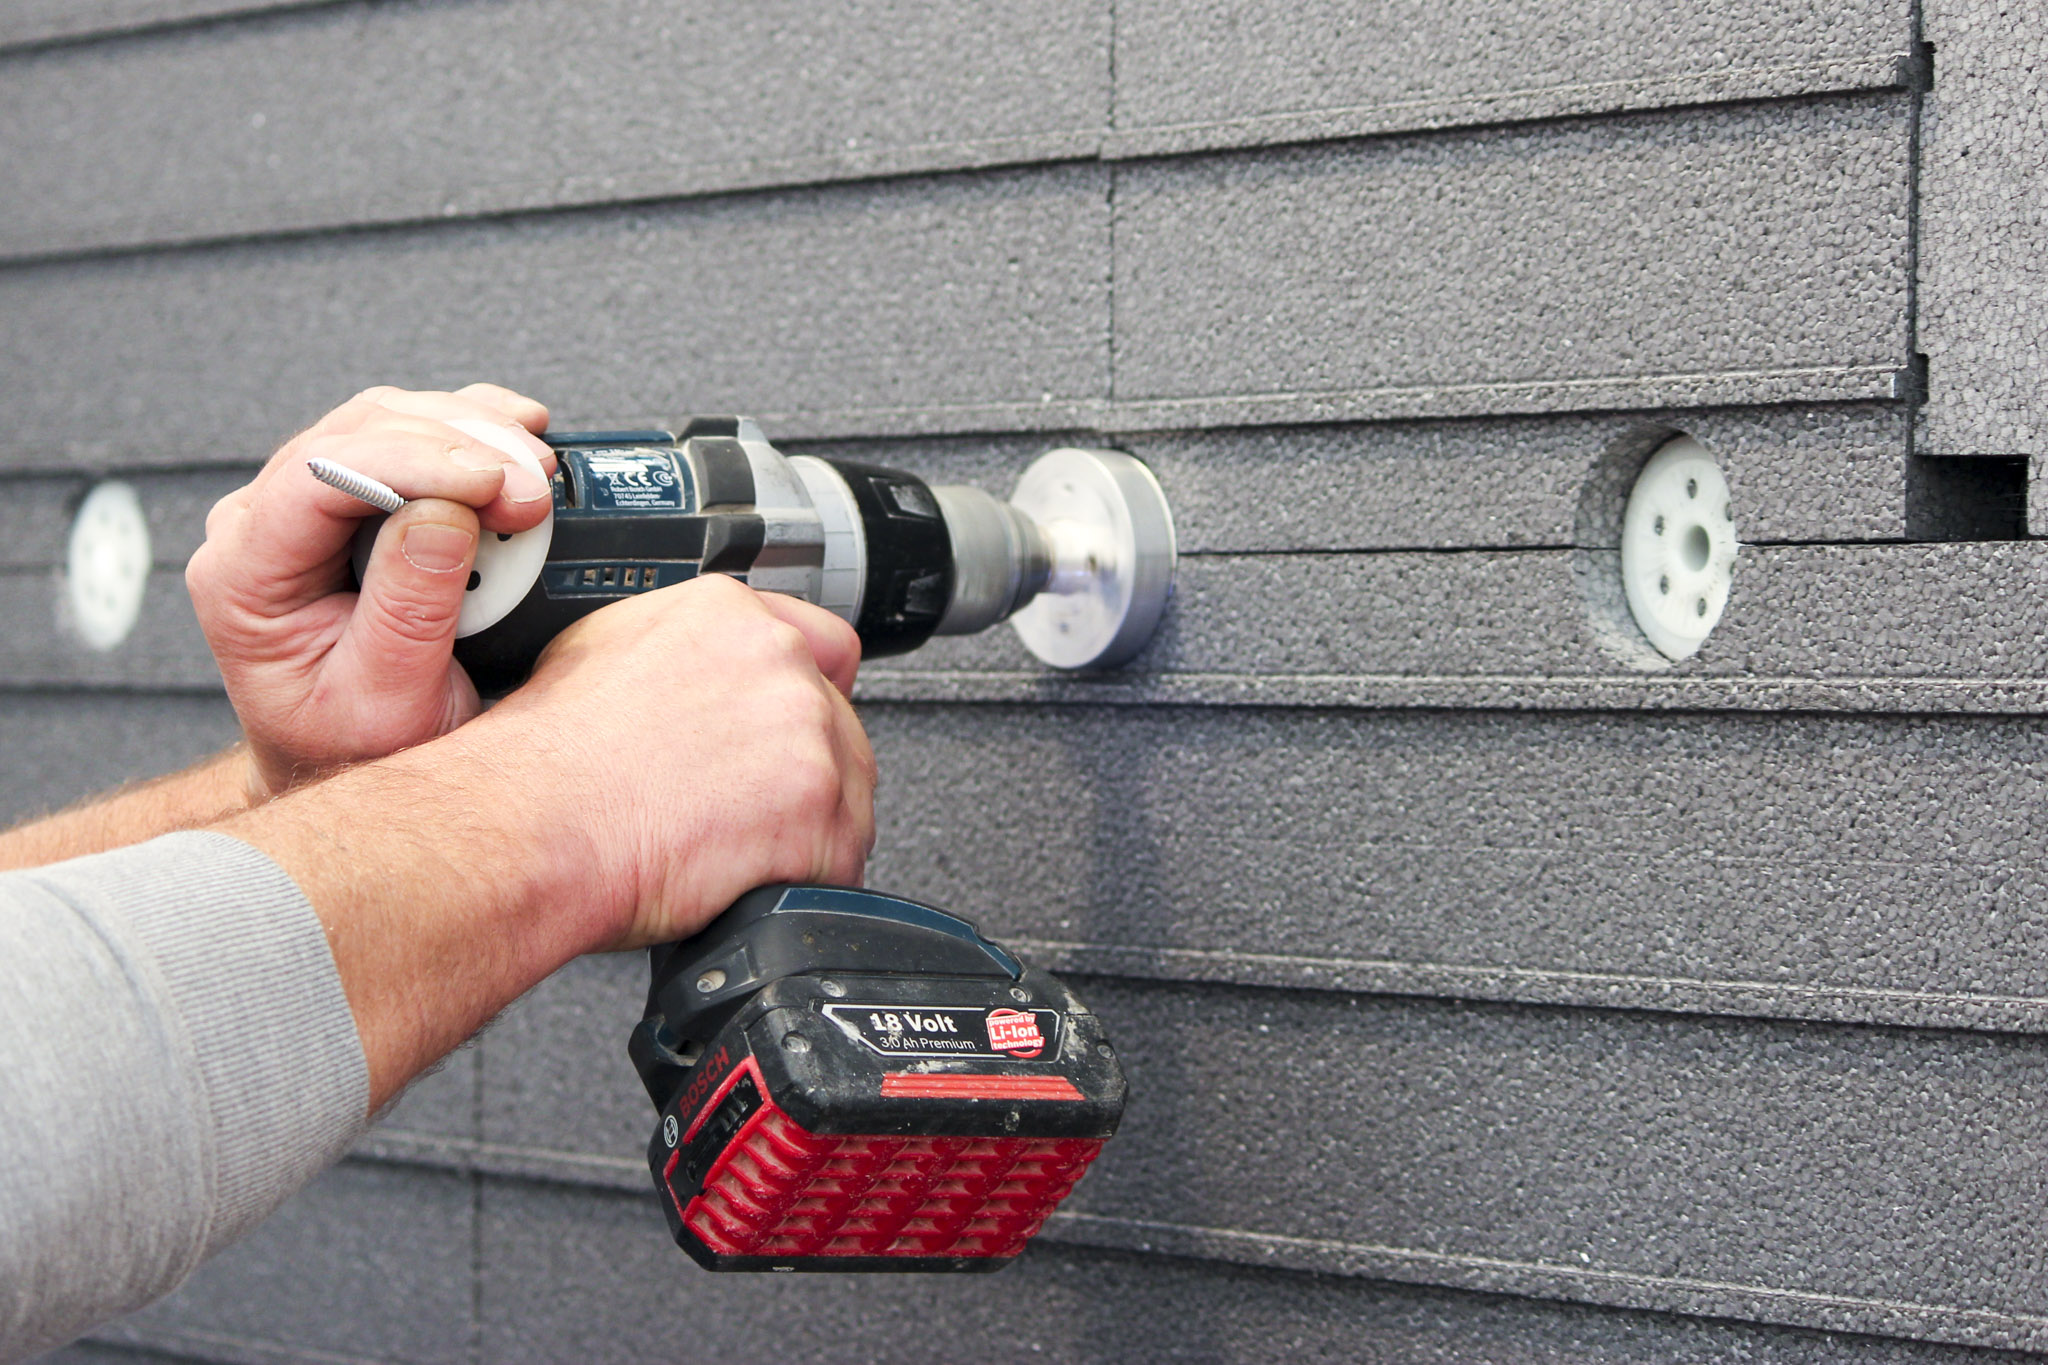
After the adhesive has dried (at the earliest after 24 hours at + 20 ° C), the insulation boards with screw plugs attach additionally (average of midfield and edge area, number depending on wind zone and Building height). To do so, drill 8 mm holes through the insulation board into the ground Pre-drill.
Step 3
Dowdle firmly
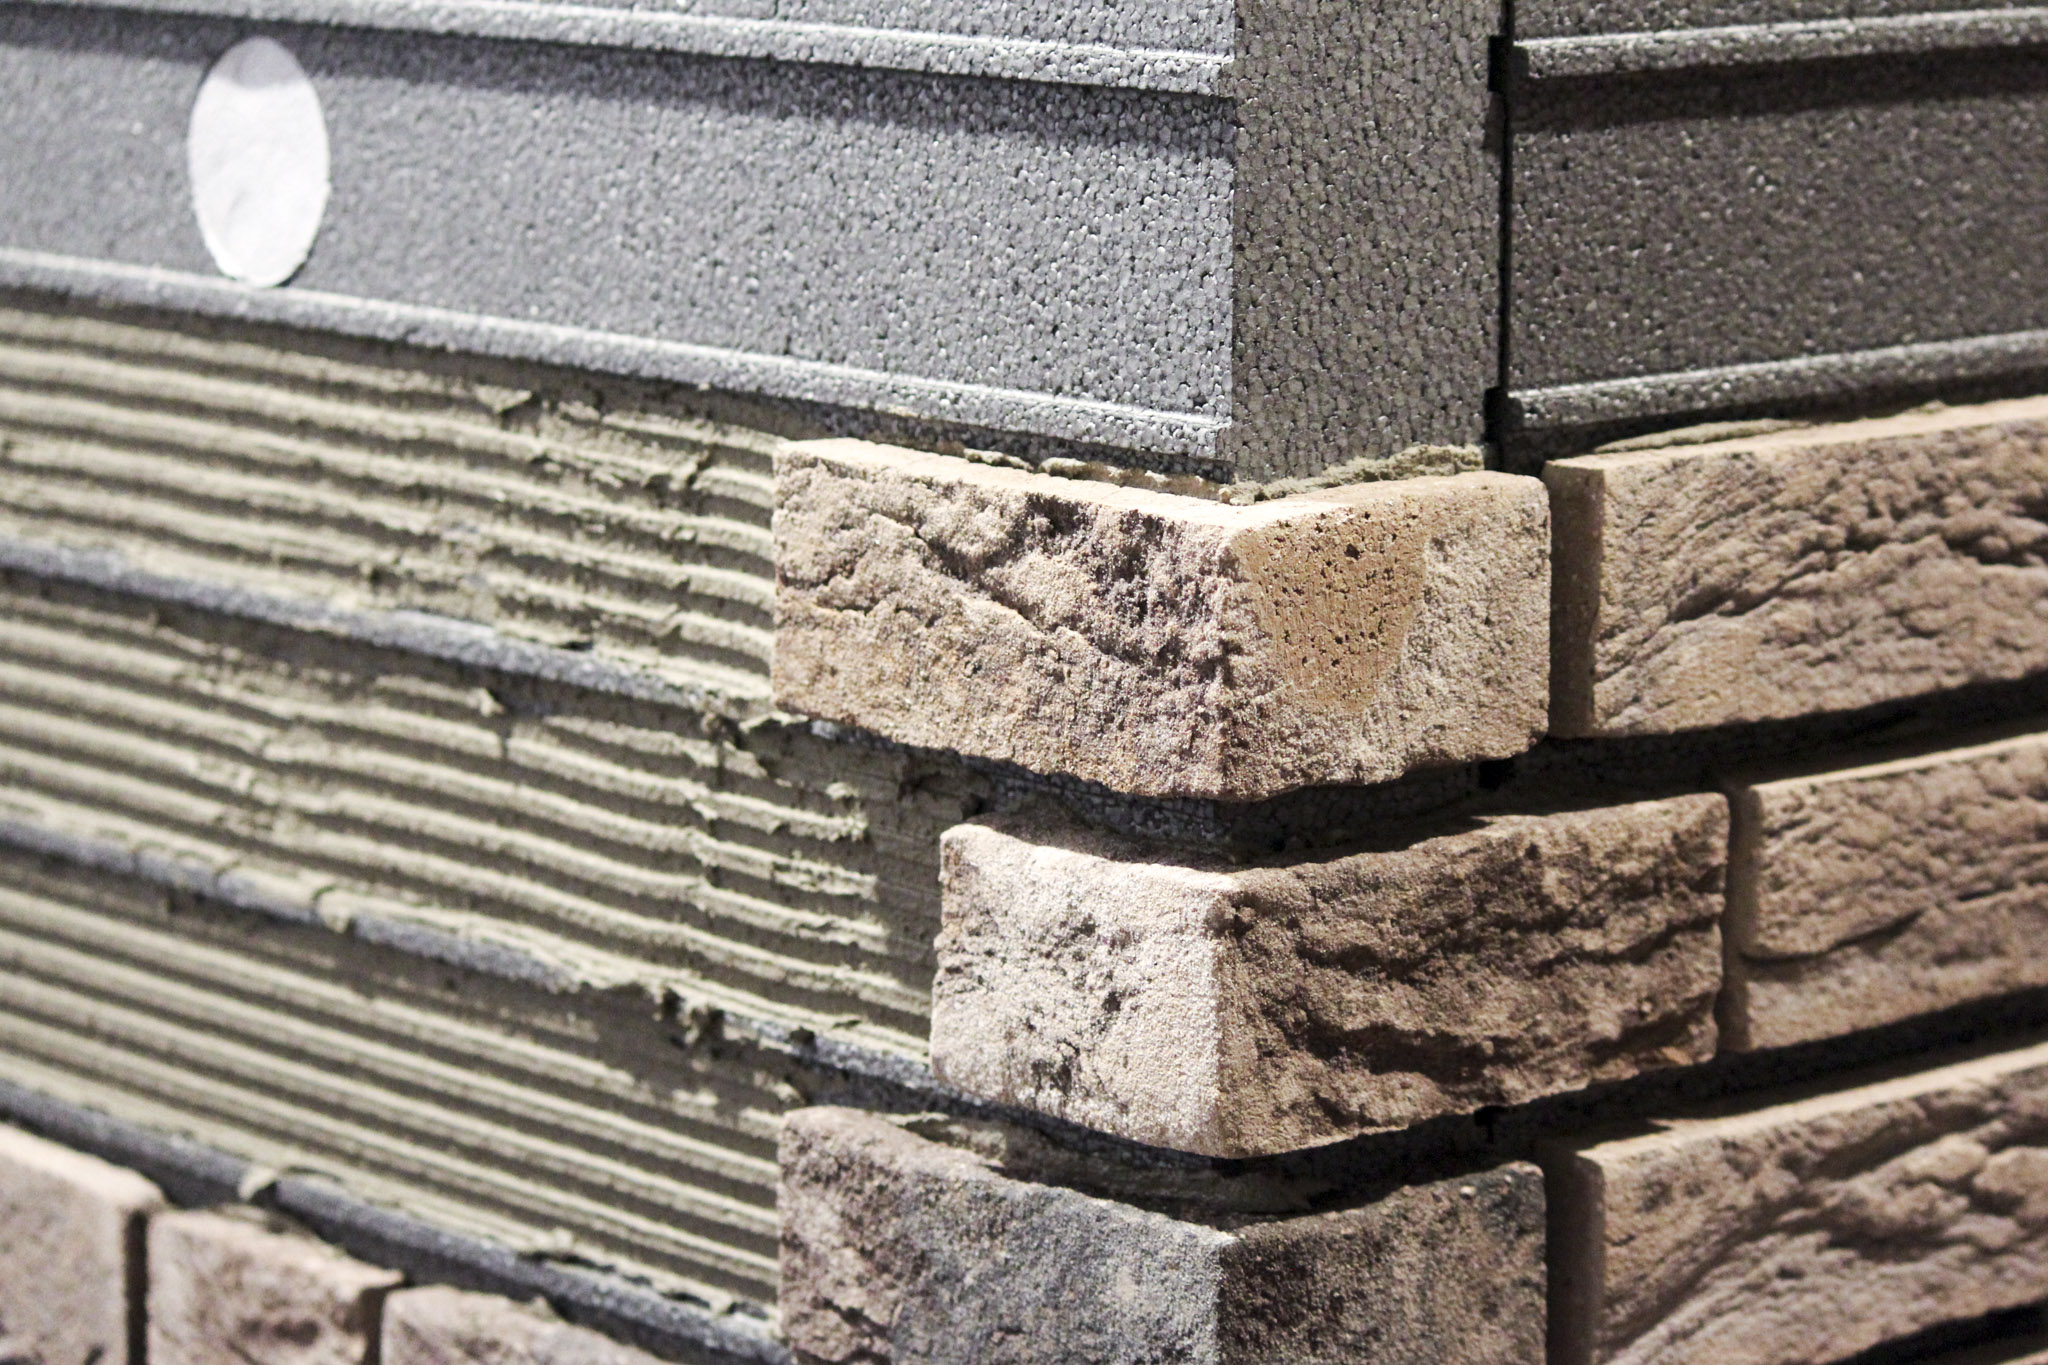
Then put dowels in the holes and fix the dowel screw with a cordless screwdriver in the wall anchor. Tighten the dowels until they are flush with the surface of the plate. To avoid of bulges of the insulation boards in the area of house corners, the number of dowels to increase.
Step 4
Apply glue
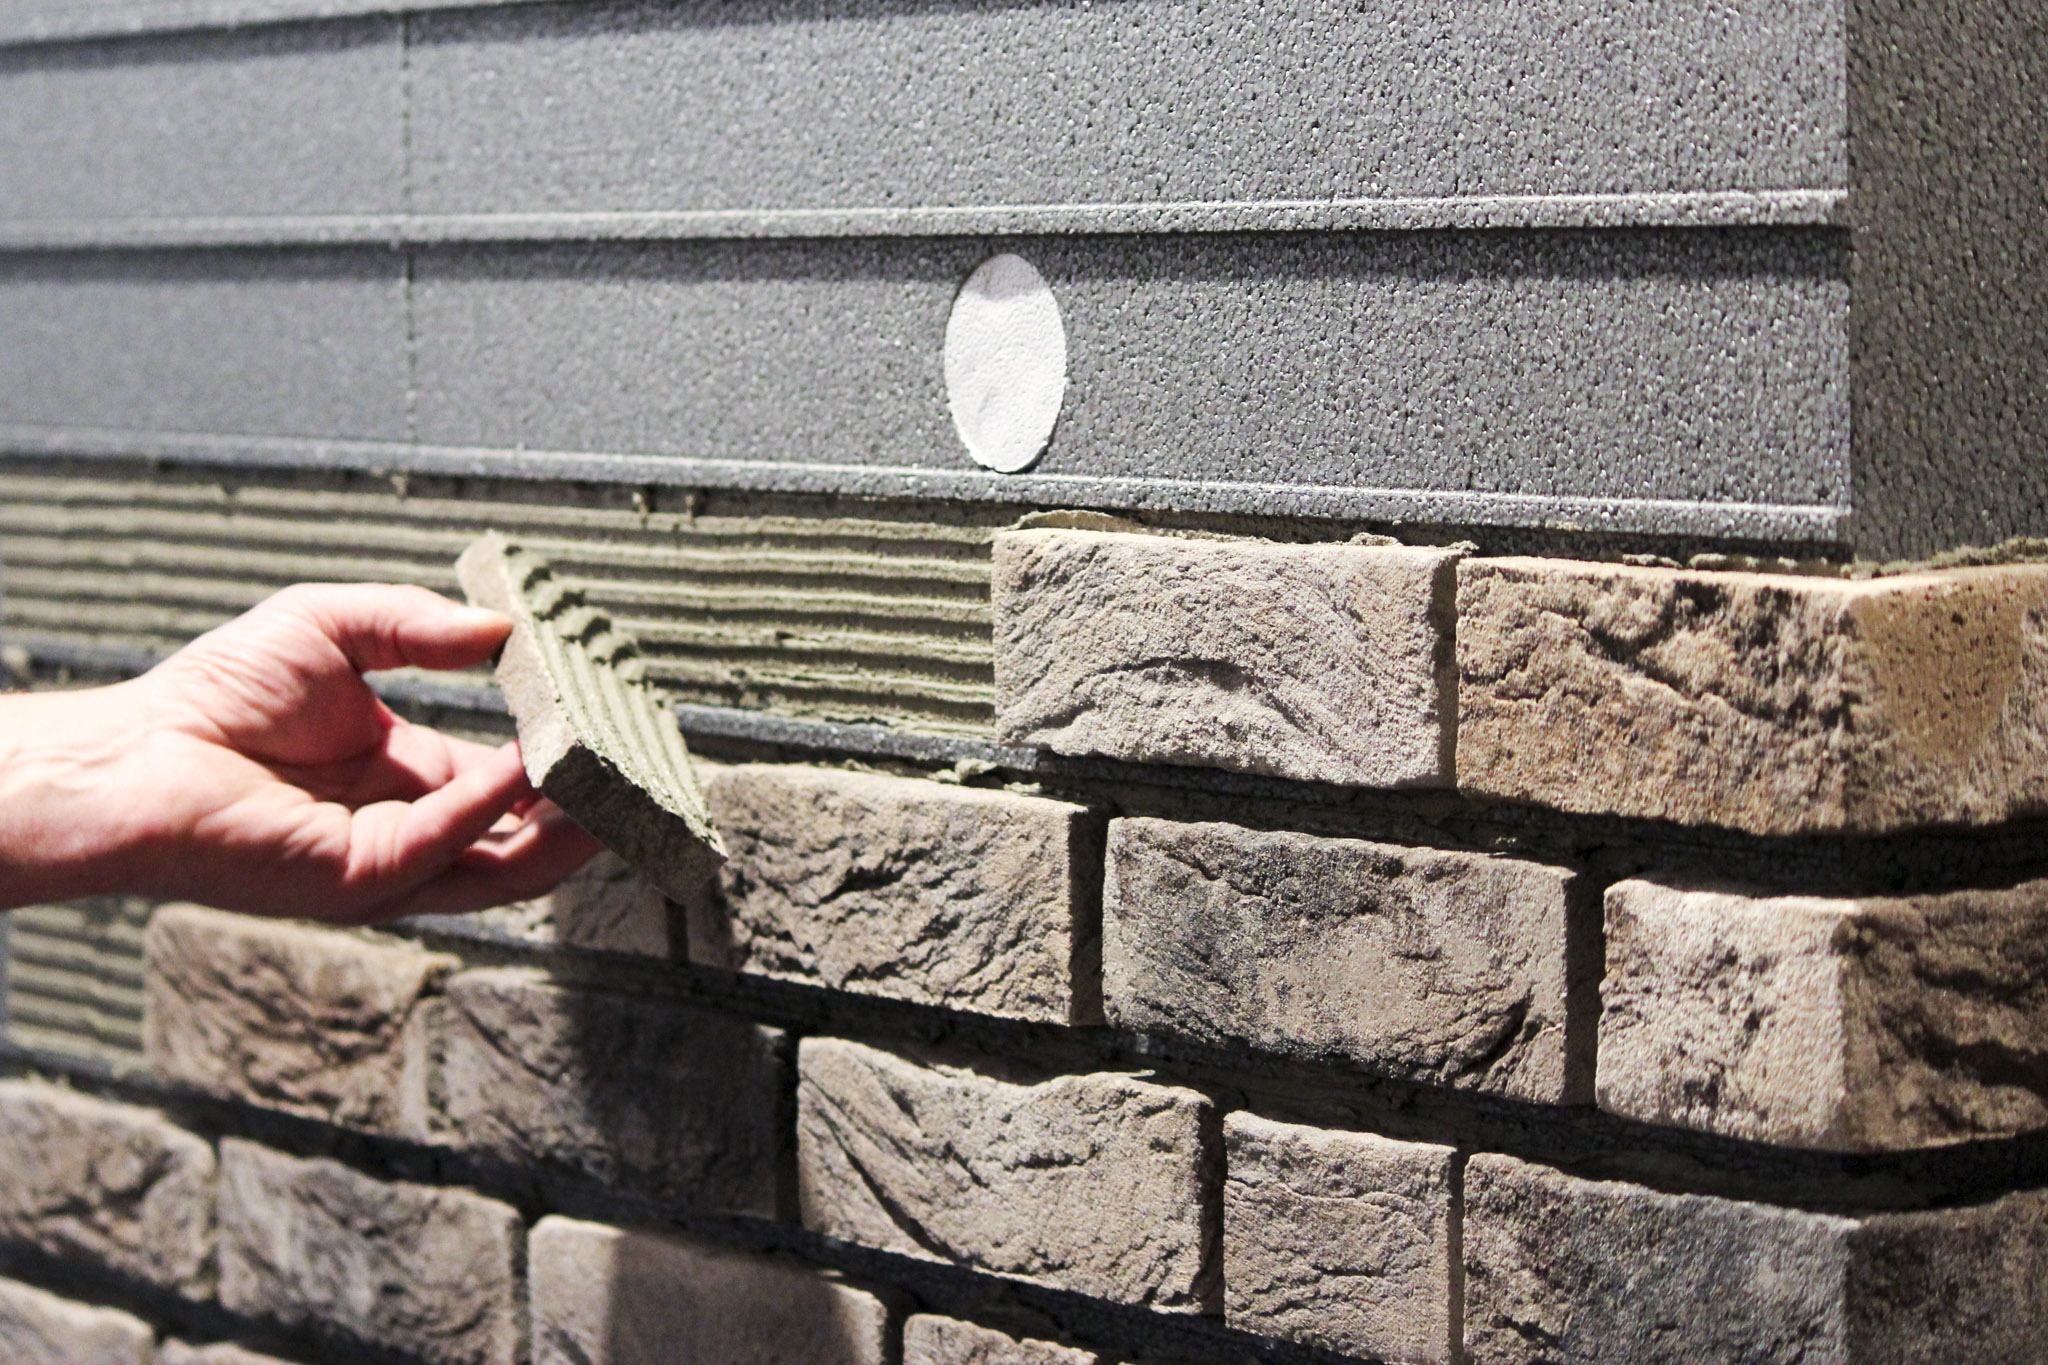
Apply DK adhesive mortar to the insulation board with strong pressure.
Then use the notched trowel to make the glue comb bed.
Important: Apply only as much adhesive as in the open-air time (depending on air and object temperature)
Clinker straps can be laid.
Step 5
Sticking on the clinker straps
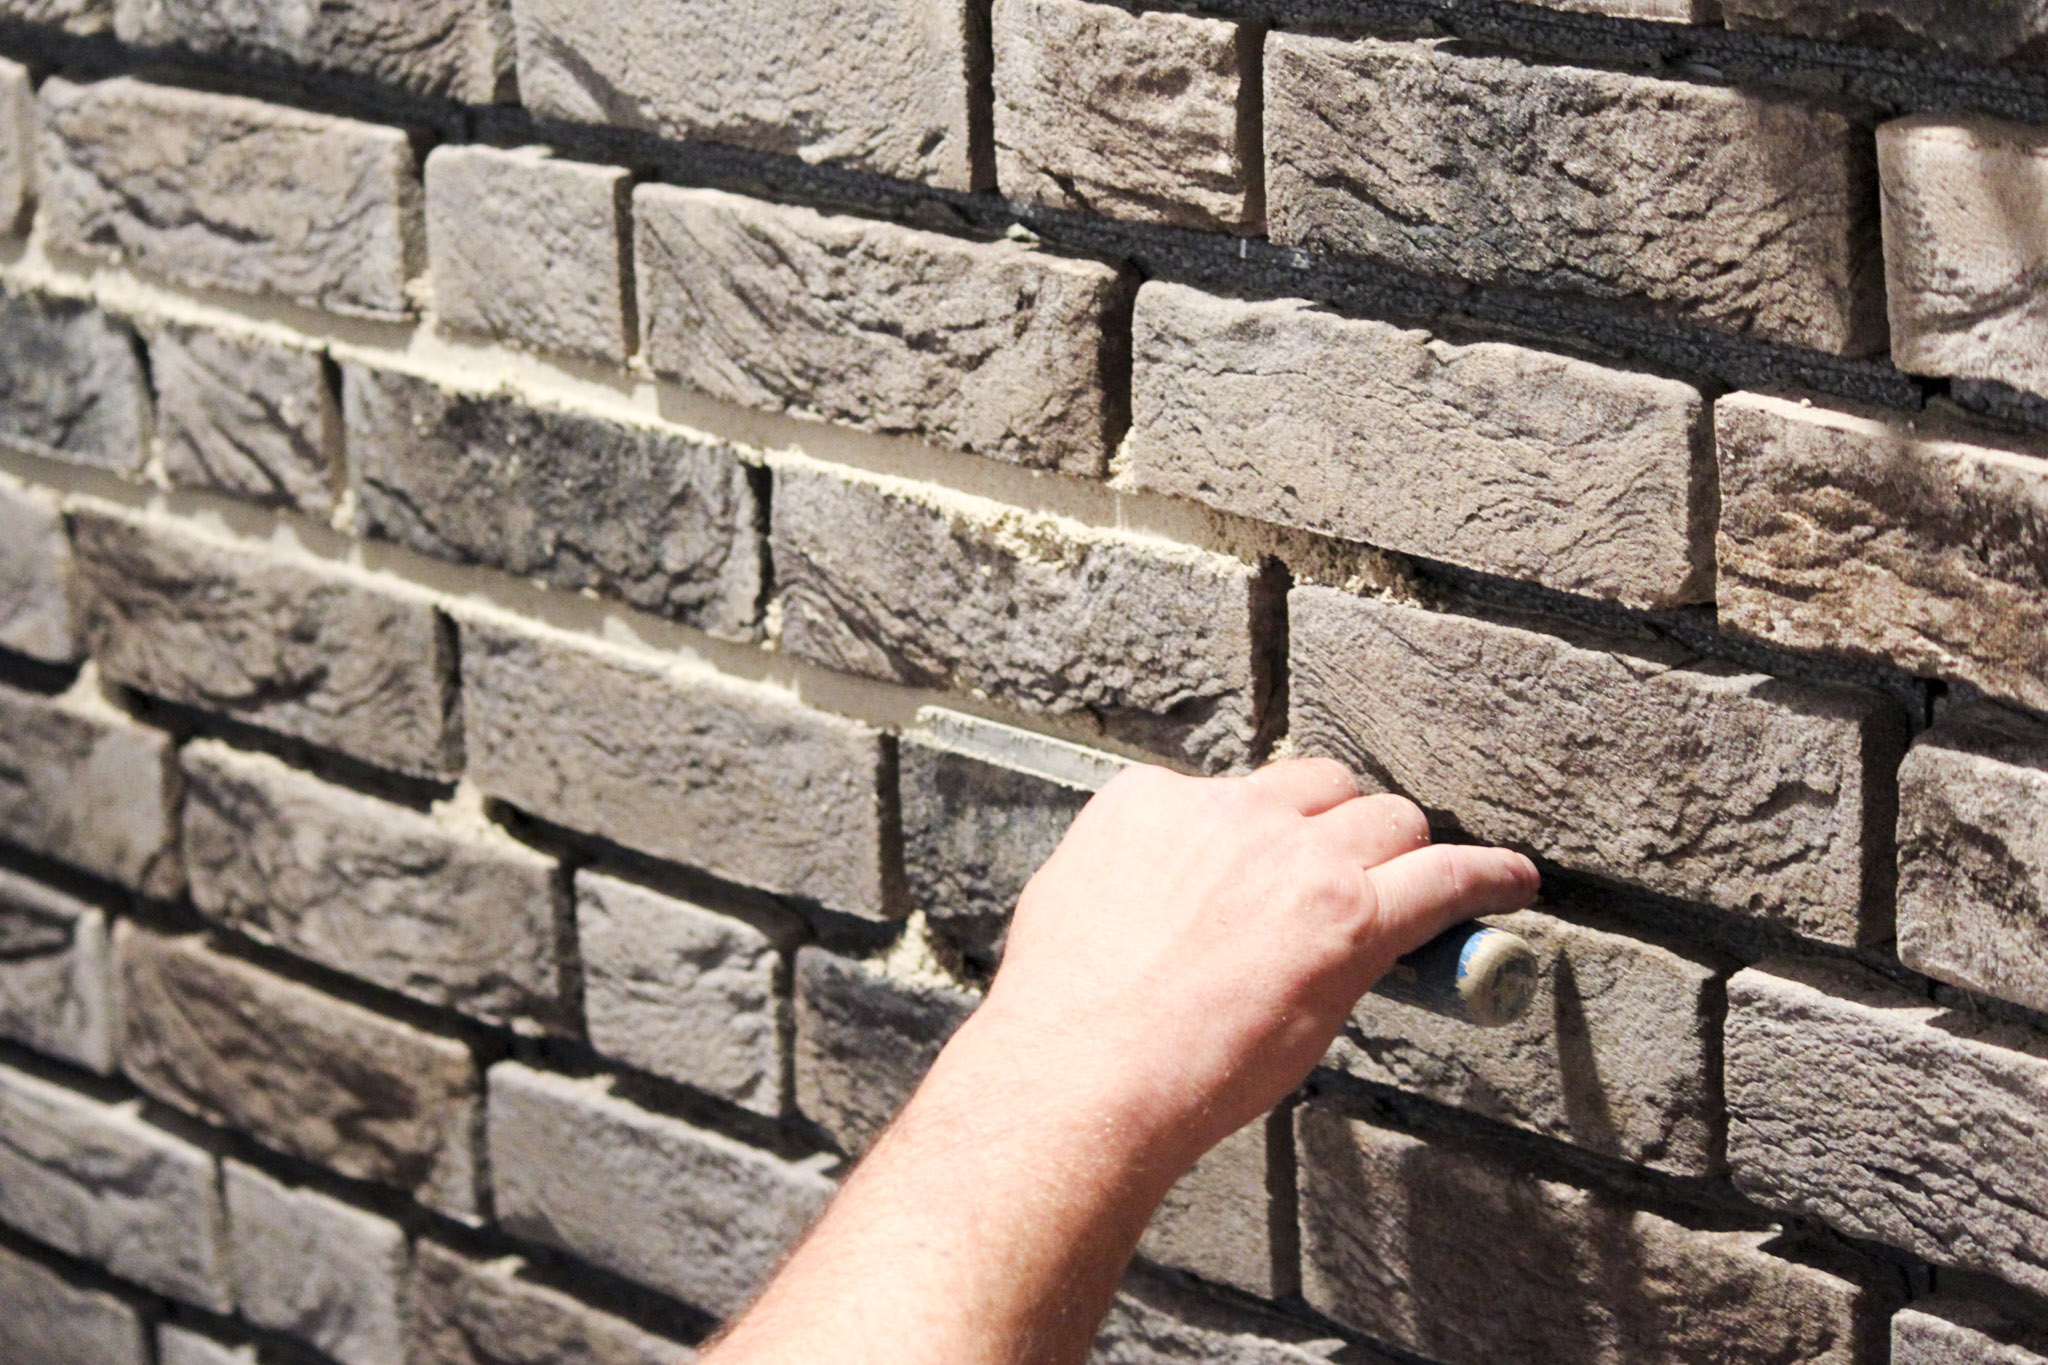
DK adhesive mortar with the appropriate trowel thin layer on the entire back of the
Applying clinker strapping (buttering-floating method).
Now press the adhesive coated clinker straps firmly into the prepared adhesive comb bed.
The further laying should always be done in masonry association. If laying
Glue should emerge laterally.It should be removed when fresh. The trained joint depth remains
thus obtained.
Step 6
Grouting the clinker straps
After complete drying (at the earliest after 48 hours, depending on the ambient temperature) with the
Grouting begin. Mix the DK joint grout according to the instructions on the packaging.
Recommendation: Mix the grout to a moist, slightly plastic consistency. Every single fugue
Fill with the joint iron and note that the entire joint cross-section is filled with mortar. If
required, can be nachgeugt after tightening the mortar in the joint again slightly. After
complete filling of the joints should be done in sections, the area diagonally to the joint formation with a
brushed clean hand brushes.
Colors & formats
Browse through our colors & formats for DämmklinkerViele weitere Riemchen finden Sie hier: Zu den Riemchen
Viele weitere Riemchen finden Sie hier: Zu den Riemchen
Dream houses with Dämmklinker
Browse through references gallery-Ende erreicht-
Keine weiteren Seiten mehr zu laden
Large objects with
Dämmklinker Browse through references gallery-Ende erreicht-
Keine weiteren Seiten mehr zu laden
12 arguments for Dämmklinker
»Increasing the quality of living
Comfortable and balanced living environment. In winter due to higher wall surface temperatures (no more unpleasant drafts), in the summer by pleasant coolness in the living room.
»Energy saving, active environmental protection
The Dämmklinker system is a worthwhile investment for the future and pays off in terms of the point of view Environmental protection (reduction of harmful greenhouse gases (CO2 emissions)) already in the first heating season.
»Smaller heating system
With the Dämmklinker system, the heating system can be made smaller, as it has to generate less heat.
»Elimination of thermal bridges
Easy and safe insulation of critical detail points such as radiator corners, outside corners, concrete lintels, etc. - these are now no longer vulnerabilities.
» Living space profit
For new buildings, the load-bearing wall construction can be reduced to the minimum static size (eg 17.5 cm KS). For investors, the ETIC system pays off, as about 3-5% more can be sold per storey
» Attractive facade design
The color design options make it possible to design attractive, individual facades.
» Fighting mold fungus
If the ventilation behaves correctly, the danger of damp walls and the resulting mold growth remains banned
» mprovement of heat storage
The heat storage capacity of the load-bearing masonry can be optimally utilized (buffer effect).
» Weather protection guaranteed
A seamless, impact-resistant system construction keeps the moisture out and guarantees a long-lasting insulation effect.
» Reduction of thermal stresses prevents cracking
Changes in length of the components due to thermal stresses (e.g., panel constructions) are greatly reduced. Temperature-related cracks e.g. in a mixed masonry no longer occur. Even cracked old building facades are reliable to renovate.
» Added value of the building
Precious building fabric is protected. Old buildings get an added value. In new buildings, the value is maintained over a longer period. The rental value of the building is also increased.
» Maintenance-free
In contrast to plaster facades, there is no need for regular painting, the façade is maintenance-free.

